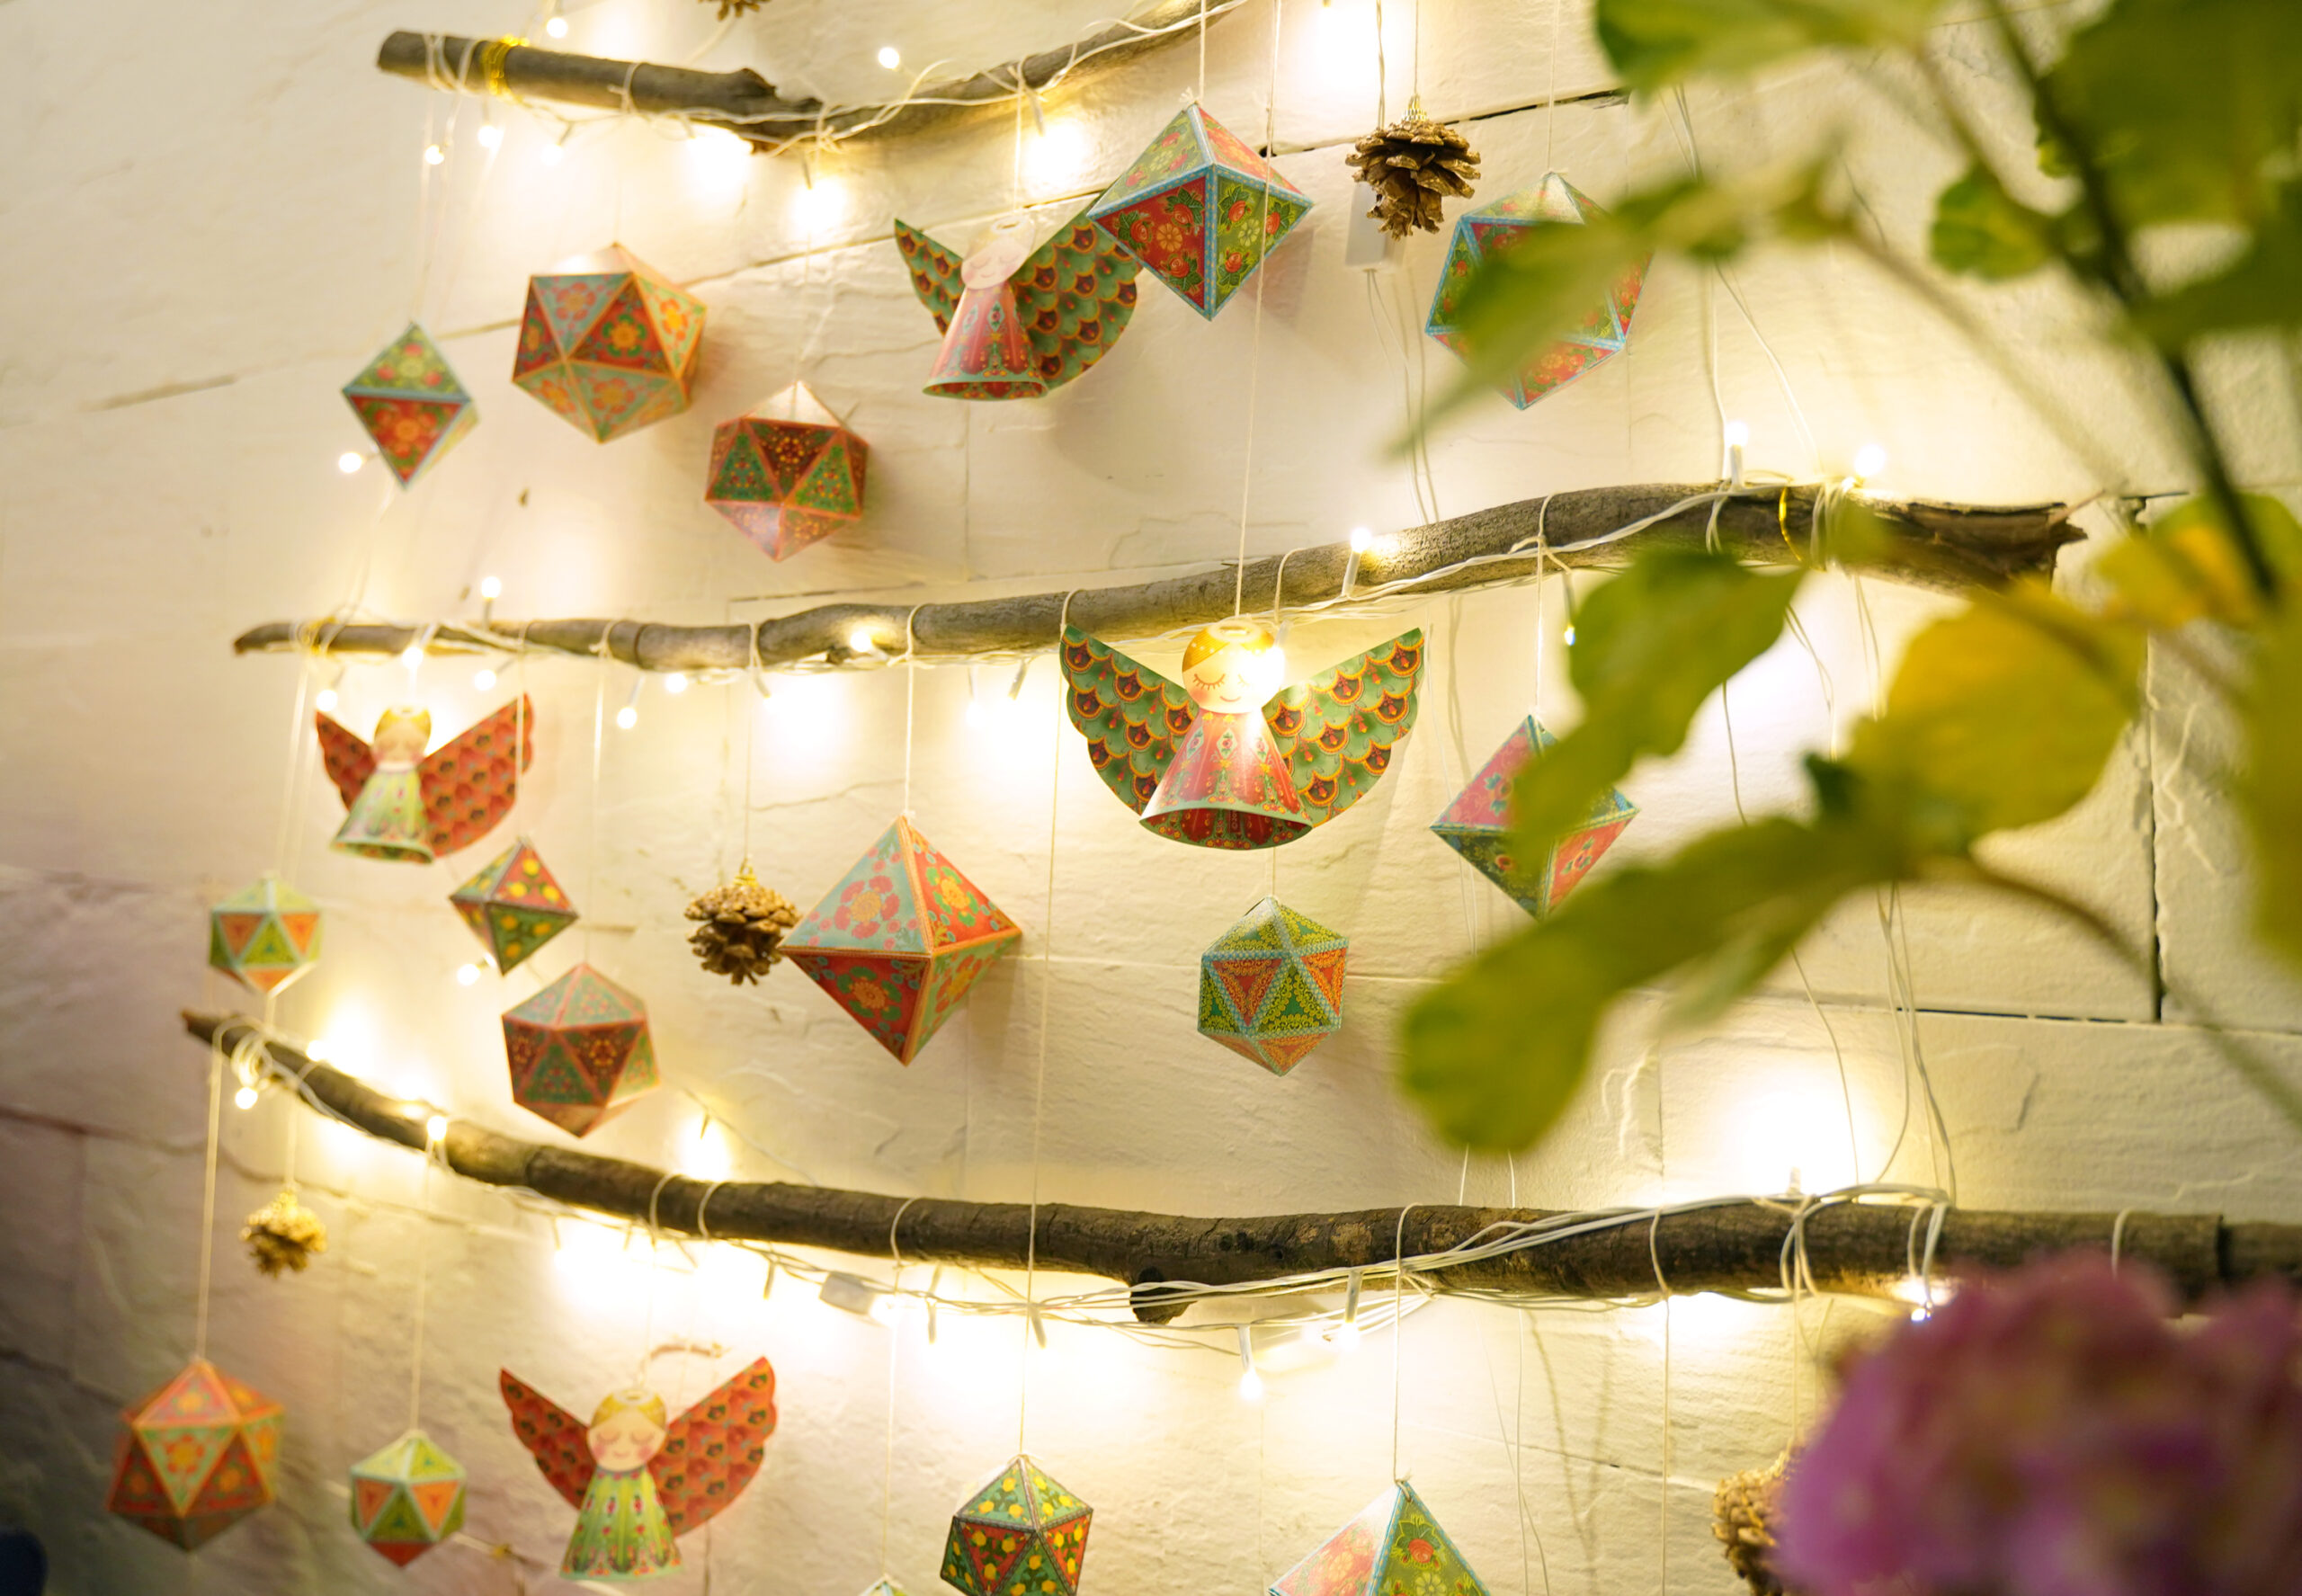
Come December, and the holiday spirit surreptitiously seeps into the skin… you start humming Christmas carols without realising it, and even here in hot tropical Mumbai, giant snowflakes become a common sight! It doesn’t matter if you are a Church-goer or not… Christmas is to the year, what Sunday is to a long work week… especially this crazy year, 2021.
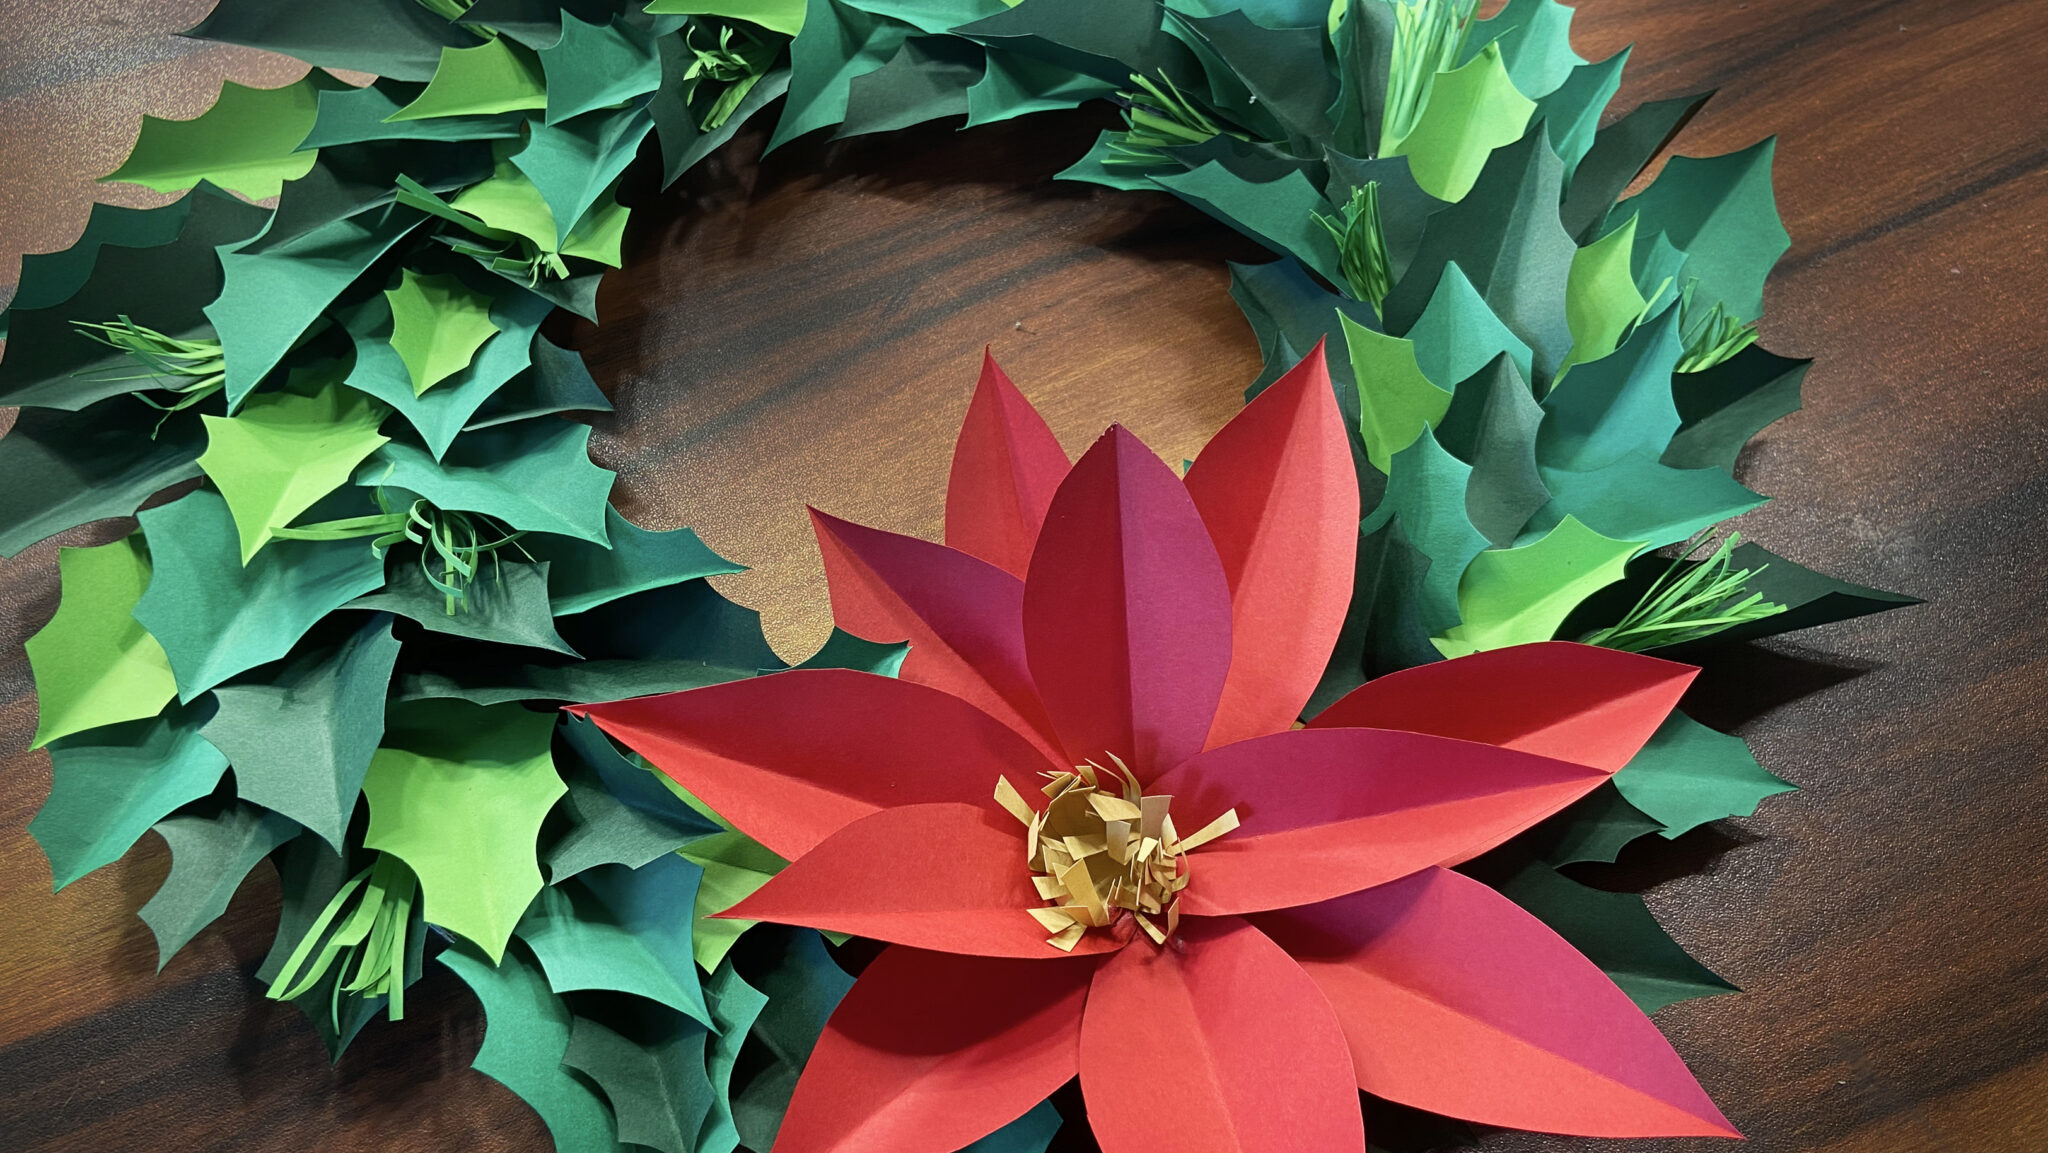
One of my favourite parts of Christmas is the ‘decking the halls’ bit! It’s a time to hang up those lights, bring out the old Christmas ornaments, and enjoy hours of decorating your home to make it as warm and cosy as possible. So I wanted to share with you, our recipe for making a bright green and red Christmas Wreath from coloured paper. It’s one of the easiest ways to make a Christmas wreath that will last you through the month, and for more seasons to come if you care to store it.
All you need for this Holly & Poinsettia Christmas wreath, is coloured paper in shades of green, red and brown, and some cardboard, from an old carton perhaps. Bring out the old craft glue, the long-suffering scissors, and we’re set to create some holiday magic with paper craft!
If you have kids around, get them to help. It’s a pretty easy craft to do and will keep them busy for hours. They can give them away as hand-made gifts or deck up their spaces with their own handiwork. We made these wreaths with friends of our then 8-year-old daughter, and we all laughed lots and made our own versions of the wreath. A day well spent, and well-remembered!
You will need:
- Coloured paper in shades of green for the leaves
- Red and brown paper for the poinsettia
- Waste corrugated or cardboard
- Craft Glue
- Scissors
- Pencil
Step 1:
Cut a ring out of the cardboard, using scissors or a craft knife. You can make the ring as big or small as you want. Keep the width of the ring at least 2 inches.
Step 2:
Fold green paper, and draw the shape of holly leaves. Cut the leaves with scissors while the paper is folded, to get perfectly symmetrical leaves.
Cut lots of leaves, in varying sizes and shades of green. By lots, I mean, at least 50 leaves? Keep going to a 100 or 200 for a bushier wreath.
Step 3:
Start attaching the leaves one by one, with glue, to the cardboard ring. Go with the flow and enjoy mixing up the shades of green in random order for a realistic finish. Keep going till you almost finish covering the ring with holly leaves.
Step 4:
Cut poinsettia petals from the red paper. Stick them in a flower shape. Cut a circle with a fringe from the brown paper, and stick it in the centre of the poinsettia. Ruffle up the central fringe. You can add more than one poinsettia, bunched together or sprinkled across the wreath.
Step 5:
If you like, you can add some thin needle-like pine leaves, too. Cut fringes out of green paper, roll them up tight to make a tuft of needle-like leaves, and put them onto your wreath, randomly distributing these across the wreath.
You’re almost done! All you need to do now is attach a string or paper loop to hang up your beautiful new Holly & Poinsettia paper wreath. Watch the video tutorial we’ve made for you, to see the whole process. If you like our DIY ideas, hit ‘Subscribe’ at our YouTube channel https://www.youtube.com/c/SkyGoodiesCo
Take it to the next level by using some printed paper along with plain one. Or do a white and gold wreath, using the same shapes and technique. There’s a good chance your neighbours will also become a jolly green shade with envy, and maybe offer you home-made Christmas toffee and cake in return for a hand-made wreath. (Hint, hint, my dear neighbour, if you are reading this.)
Next, make sure you put your wreath on your virtual doors and windows, a.k.a. the gram. Make our day by tagging @skygoodiesco and we’ll make yours by reposting. ????


